It has been a while since I made something so good that it was worthy of prioritizing time to document…but here they are. My time in the kitchen has resorted to cooking for survival – dinners at night, occasional banana bread (just so I have some in the freezer for those last minute baked goods) and jam. Yes, plenty of jam.
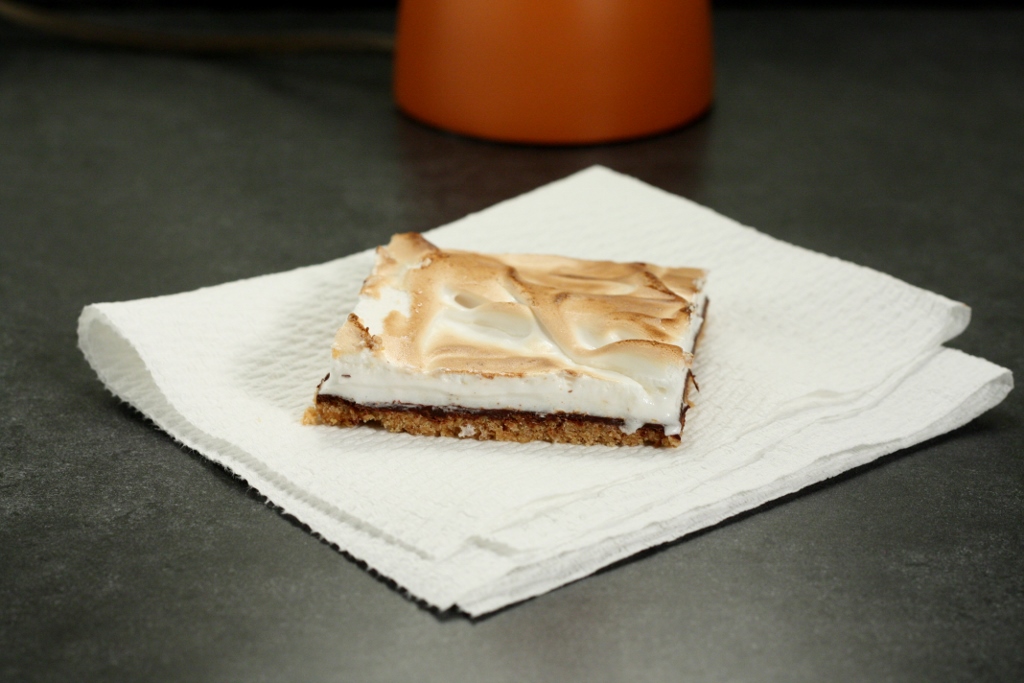
These cookies might just be the best cookies I have ever made. They are from a food store in Seattle called Dish D’Lish. I made them smaller than the recipe called for and they were still giant – I also kept a careful eye on them and took them out a few minutes earlier since they were smaller. Enjoy!!
Ingredients
Dough
8 tablespoons (1 stick) butter, softened
1/4 cup vegetable shortening
1/2 cup granulated sugar
1/2 cup packed brown sugar
1 egg
1 teaspoon vanilla extract
1 1/2 cups flour
1/2 cup unsweetened cocoa powder
3/4 teaspoon baking soda
1/2 teaspoon salt
One 8-ounce package toffee baking bits
Topping
1 cup mini marshmallows
1/4 cup sweetened condensed milk
1/4 cup graham cracker crumbs
Preparation
To make the cookie dough, in a mixing bowl, cream the butter, shortening, sugars, egg, and vanilla well. Sift the flour, cocoa, soda, and salt together in a small bowl. Mix into the butter mixture. Stir in the toffee bits.
In a large piece of plastic wrap, roll the dough into a 3-inch-diameter log with flat ends. Wrap well and refrigerate the dough to chill for at least 1 hour, or up to 3 days.
When ready to bake, preheat an oven to 350°F. Line 4 or 5 baking sheets with baking parchment (see Chef’s Note, below).
While the oven is heating, make the topping. Combine the ingredients in a medium bowl and mix with a rubber spatula or spoon until the marshmallows are thoroughly coated. The mixture will be very sticky.
Cut the chilled dough into 10 equal slices. Place 2 or 3 slices on each prepared baking sheet. (When baked, these cookies spread to about a 5-inch diameter, so bake only 2 or 3 per pan.) In the center of each cookie, place about 1 heaping tablespoon of topping, using it all.
Bake the cookies for 18 to 20 minutes, or until just done. Let cool on the baking parchment until totally cooled and easy to remove.
Chef’s Note: If you’re short of baking sheets, just lay out the dough slices on additional pieces of baking parchment. When a pan of cookies is done, remove the pan from the oven, slide the parchment with the baked cookies onto a rack, place the next parchment sheet of dough on the pan and bake.
Recipe © Dish D’Lish®
For a printer friendly version of this recipe, please click here: Smores Cookies