The other week my step-father called to talk to me about his fax machine. As he was talking to me, I was picturing the monster that sat in their kitchen, taking up precious space on their counter. I told him that fax machines are a thing of the past – no one uses them anymore – with email, and scanners, there is just no need. I told them to get rid of it, move into the 21st century. He listened intently, and I could tell he wasn’t completely buying it – but he took the plunge, and gave it away. He wasn’t going to let a huge fax machine get in the way of moving onto bigger and better things.
This weekend I bought myself a new desktop – it was about time, I had been using mine for at least 7 years, because it was right around the time that I had my younger daughter that I purchased this baby. I love my new touchscreen monitor with Windows 8 – but to be honest you, I am typing this on my old one. I hate to admit it, but I am having a little trouble letting go. At one point, I tried to load my photo editing software onto my new PC, and I ran into a bit of a snag. Now, you have to understand, I am extremely loyal to Microsoft – so, when they came out with photo editing software over 7 years ago – of course I was right there installing it – now 7 years later (long after they stopped selling the program, and created a free photo editing program within Windows 7) – I am still using it. Mind you, I use the free software as well – everything has its specific purpose. I digress – so, I was trying to load this and it wouldn’t let me – my new machine is a x64 bit system, and Microsoft Digital Imaging software is only compatible with a x32 bit system… Ugh. I know I should be using the free software, and supposedly it offers all the same functionality in a much more streamlined process – but I like my old process. I knew exactly how to edit my photos the way I liked.
It just so happens that my step-father was visiting this weekend, and when I told him my sob story – he reminded me about the fax machine. Yes, he is exactly right – welcome to the 21st century.
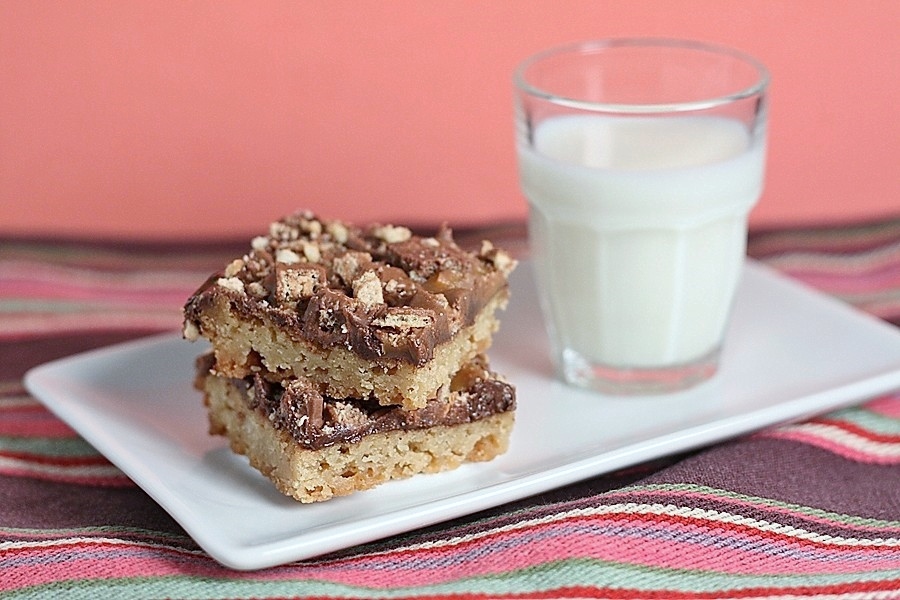
So – what does this have to do with these Crunch Bars? Well, let me tell you. Candy bars are almost becoming retro in my mind. The organic chocolate bars that are sustainable and made with all natural ingredients are becoming more and more hip – and the Kit Kat bars are looking old and un-cool. Plus, they are just taking up space in the pantry – from Halloween – yup, that’s right. So, we decided to make something to use up some of that candy in the pantry – and Bon Appetit came to the rescue with this recipe. Boy were these decadent – and so easy to make. You can basically make this into anything you want – the sky is the limit. So – if you are looking for ways to use up some of your old stuff so you can move onto the bigger and better – give this one a try. Wish me luck as I now dive into the deep end…
Ingredients
Cookie Base
- 1 cup (2 sticks) unsalted butter, room temperature, plus more for dish
- 1/2 cup (packed) light brown sugar
- 1/2 teaspoon fine sea salt
- 1/4 cup sugar
- 1 1/2 teaspoons vanilla extract
- 1 1/2 cups all-purpose flour
Topping
- 6 ounces semisweet or bittersweet chocolate or high-quality milk chocolate, finely chopped
- 1-1 1/2 cups assorted toppings, such as cocoa nibs, crushed candy, toasted chopped almonds and pistachios, lightly toasted coconut, and popcorn
- Flaky sea salt (such as Maldon)
Preparation
Cookie Base
Arrange a rack in middle of oven; preheat to 375°. Line the bottom and sides of a 13x9x2 inches metal or glass baking dish with foil, allowing 2 inches overhang on either side; butter foil in dish.
Using an electric mixer at medium speed, beat 1 cup butter in a large bowl until smooth, about 3 minutes. Add both sugars and salt; continue to beat until mixture is light and creamy, about 3 minutes longer. Beat in vanilla, then slowly mix in flour, beating until entirely incorporated (dough will be wet and sticky).
Scrape dough into prepared dish. Using your fingertips, spread into a thin, even layer.
Bake cookie base until it is golden brown and has begun to puff and crack, about 22 minutes.
DO AHEAD: Base can be made 2 days ahead. Let cool completely and store airtight at room temperature.
Topping
Preheat oven to 375°. Scatter chopped chocolate evenly over cookie base and bake just until chocolate is soft and has begun to melt, about 2 minutes. Immediately spread chocolate in an even layer over base.
Scatter toppings over warm chocolate; lightly but firmly press into chocolate. Sprinkle with salt. Let cool in dish on a wire rack for 15 minutes. Using foil overhang, lift cookie from dish. Place on rack; let cool until chocolate is set, about 2 hours.
Carefully remove foil from cookie and slide onto a cutting board. Cut into bars.
DO AHEAD: Crunch Bars can be made 5 days ahead. Store airtight at room temperature.
For a printer-friendly version of this recipe, please click here: Crunch Bars
